
Surprisingly, but a fact that Windows 10 includes its own e-mail client. There are multiple reasons to consider the use of desktop apps for sending and receiving e-mails, just like we use our smartphones and make communication very simple. The mail app in windows 10 easily handles webmail services like Outlook, Exchange, Gmail, iCloud, Yahoo. It provides access to work with single or multiple e-mail address in one place without switching between e-mail accounts.
If you want a closer look at new mail client in windows 10 then we can help you with a detailed overview of the features and application settings. Windows 10 mail app comes pre-installed along with the calendar. This is also known as outlook mail on windows 10 based mobile phones. It also provides a free upgrade to windows 10.
Windows 10 mail app includes all the essential features to manage the flow of e-mails in today’s life. In this windows 10 guide, we’ll show you how to use mail app in windows 10 started with how to set up a new account for the user.
Setting Up Mail App In Windows 10
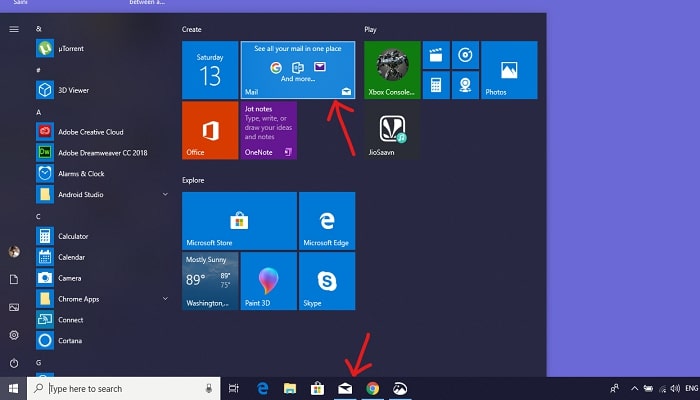
– Open mail app by clicking the windows start menu. You can even search in the search box provided in the window. Or simply hit the mail icon in the taskbar.
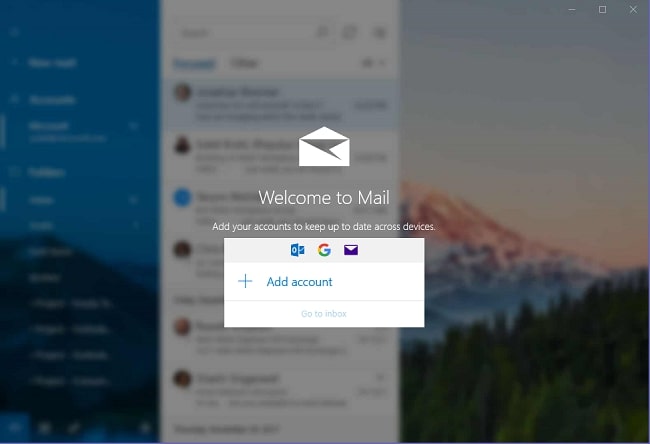
– If you are using it for the first time you’ll see a welcome page
– You will be prompted to add an e-mail account
Adding An E-mail Account To The Mail App
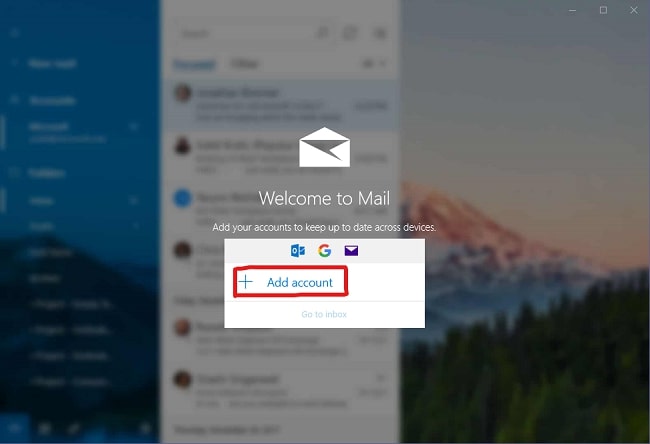
1. Click ‘Add account‘ Button
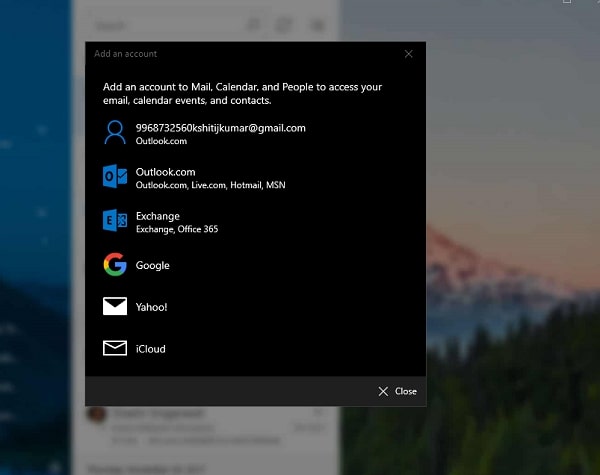
2. Select a service (Gmail, Yahoo, outlook, etc) or select an e-mail account from the list if applicable.
3. Enter your e-mail address and password for automatic server settings
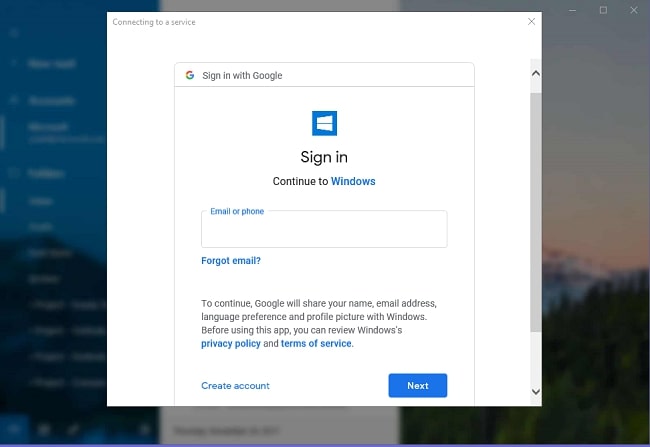
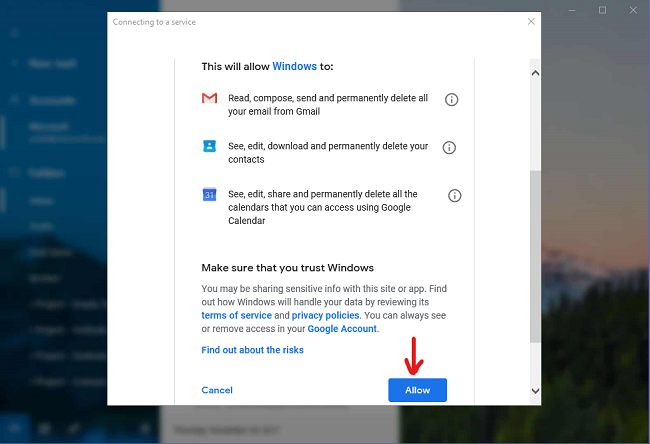
4. Next, it will ask for permissions to get access to your webmail account. Simply hit the ‘Allow‘ button to grant access to your webmail account.
5. Click on done button
Adding Multiple E-mail Accounts To The Mail App
Adding multiple e-mail accounts after initial set up involves these steps:
1. Click the settings icon at the bottom left pane
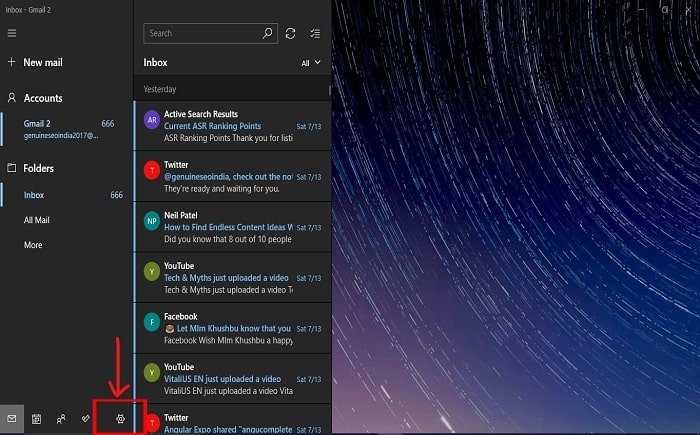
2. Click on the ‘Manage accounts‘ option at the right pane
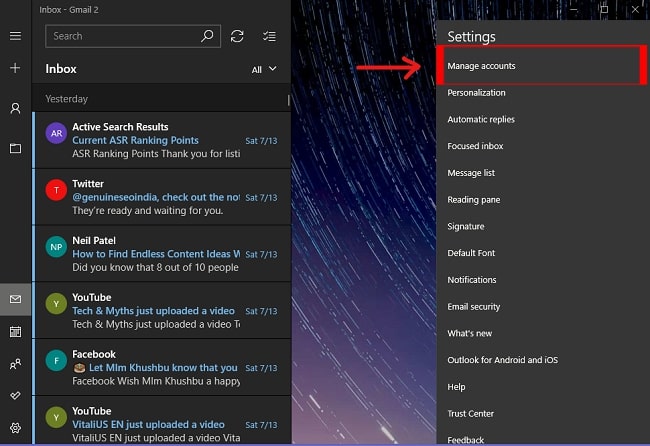
3. Click the ‘Add account‘ option
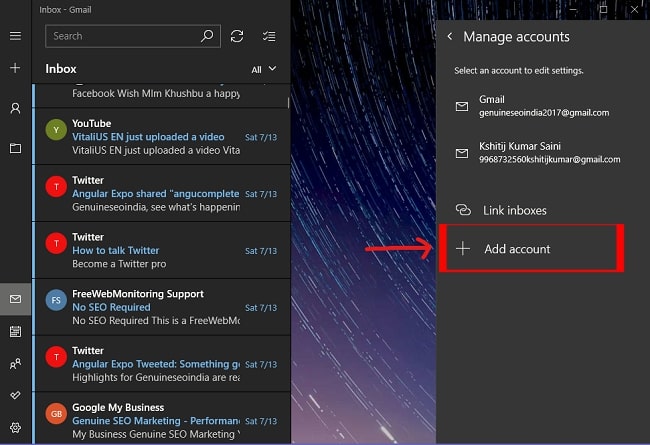
4. Select the e-mail service you want to add
You can add and configure additional accounts if you want to manage with the application by repeating the steps and instructions.
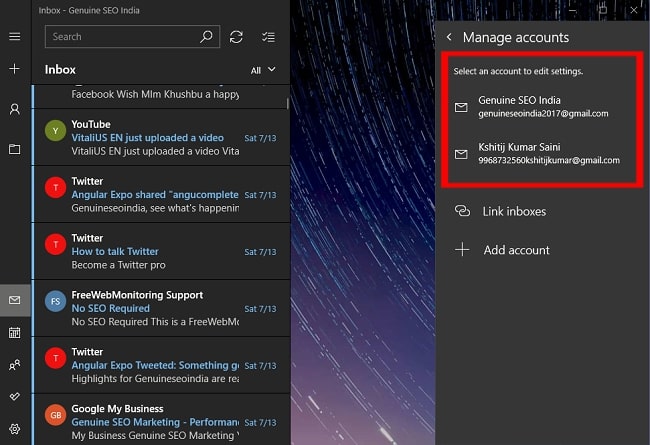
Changing The E-mail Account Settings
You can adjust and manage the account setting depending on the different email services:
1. Open mail app
2. Click on the settings icon
3. Click on ‘Manage accounts‘ option
4. Select the account for which you want to change the settings
5. Change the settings on the Account settings box
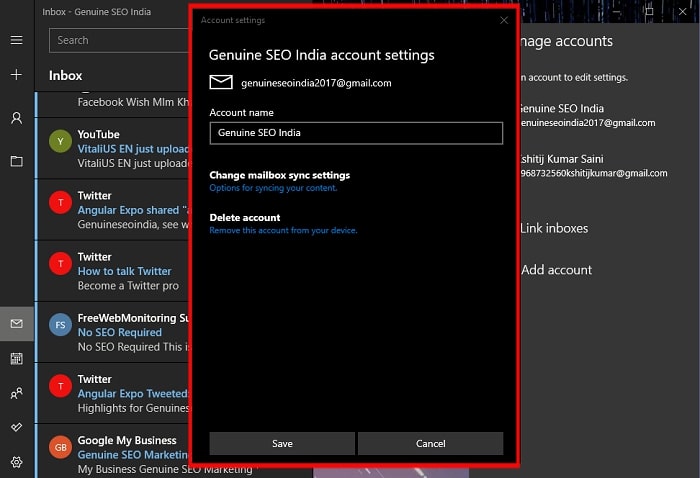
You will find the options like change mailbox sync setting, Delete account, Account name, etc on the settings page. Do changes as per your requirements.
Checking And Composing New E-mails In The Mail App
This process is no different from the web or other mail clients you experienced already.
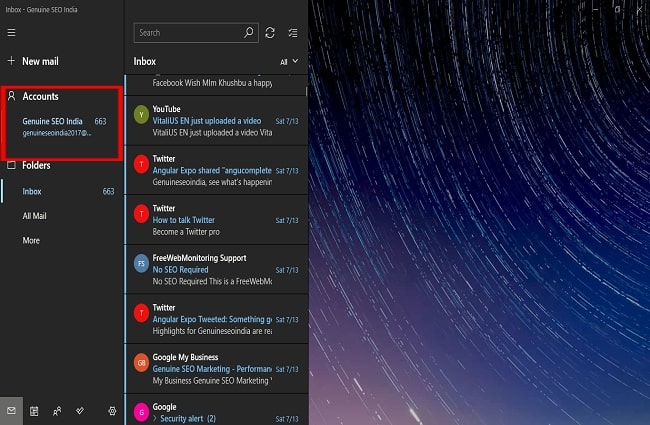
1. Open mail app
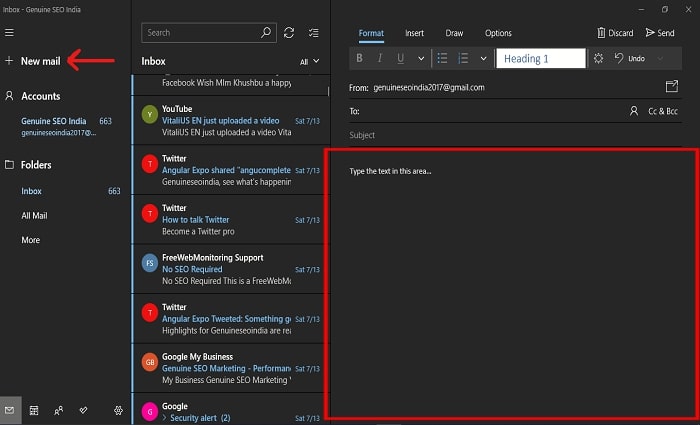
2. Select the account to send a new e-mail from the left pane. Then click on the ‘New Mail‘ option
3. Type the body of your mail which you want to send
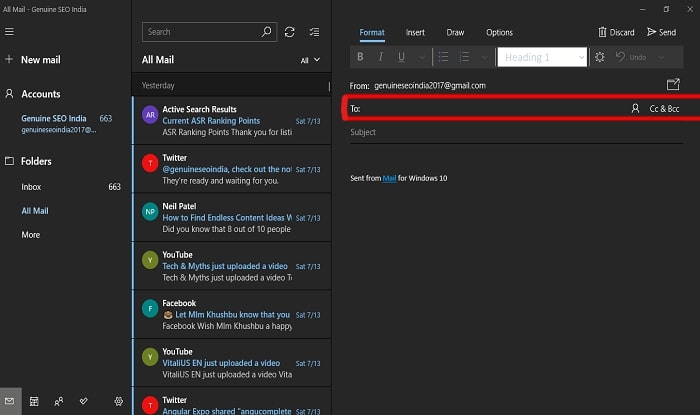
4. Type the address, to whom you want to send the mail, in the address column
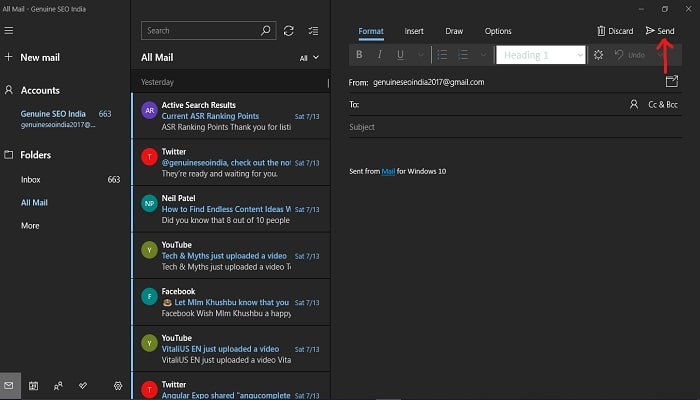
5. Once you completed writing the message, you can click the send button in the top right corner
Checking a new e-mail is as simple as other clients. By selecting the list of e-mail under folder, you can read any mail you want.
Configuring Automatic Replies In The Mail App
‘Automatic replies‘ are is one of the very important features of the mail app. It allows us to communicate automatically with a specific message to make sure anyone who sends the e-mail will get a response quickly.
You can set it up by following these steps:
1. Open the mail app
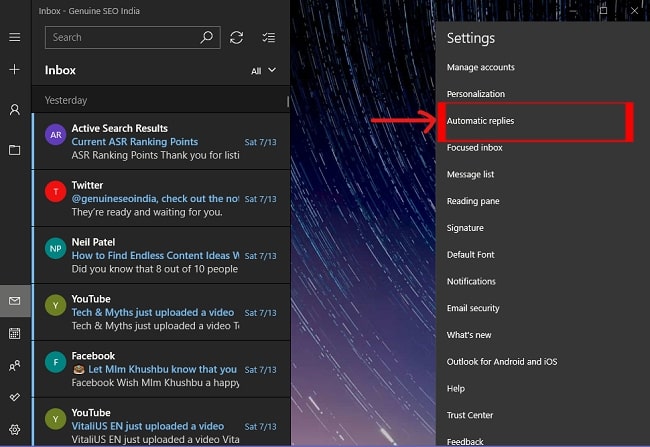
2. Click the settings button
3. Click on the automatic replies options
4. Use the e-mail address that you want to configure from the drop-down menu
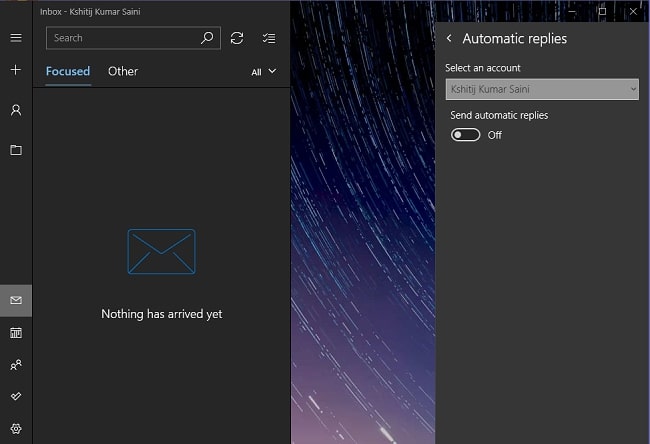
5. Turn ‘On‘ Send automatic replies
6. Create a custom message inside ‘my organization‘
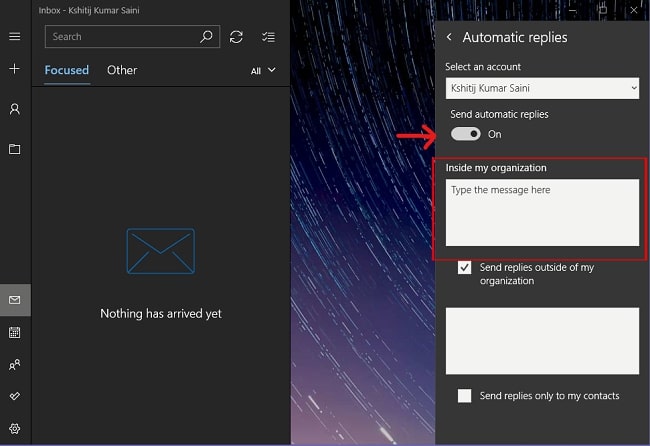
After completing these steps, your account will send automatic replies based on your configuration.
You can follow the mentioned steps and instructions to set up, manage and configure the mail app in windows10. Mail app provides various options to make easy accessibility for users. Only the need is to know and understand things in a better way for proper functioning. We are here to make understanding about ‘How to use mail app in windows10‘. So, go ahead and run the application without fear.


Thanks for this step-by-step guide. This website is something that is required on the internet, someone with a bit of originality!